
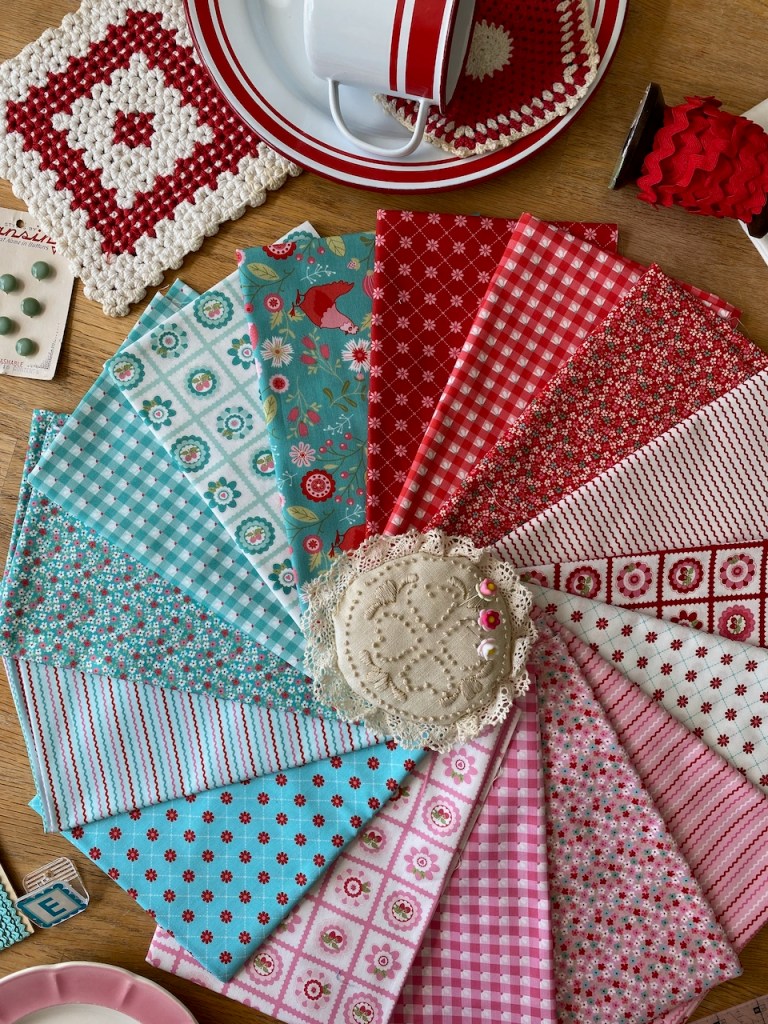
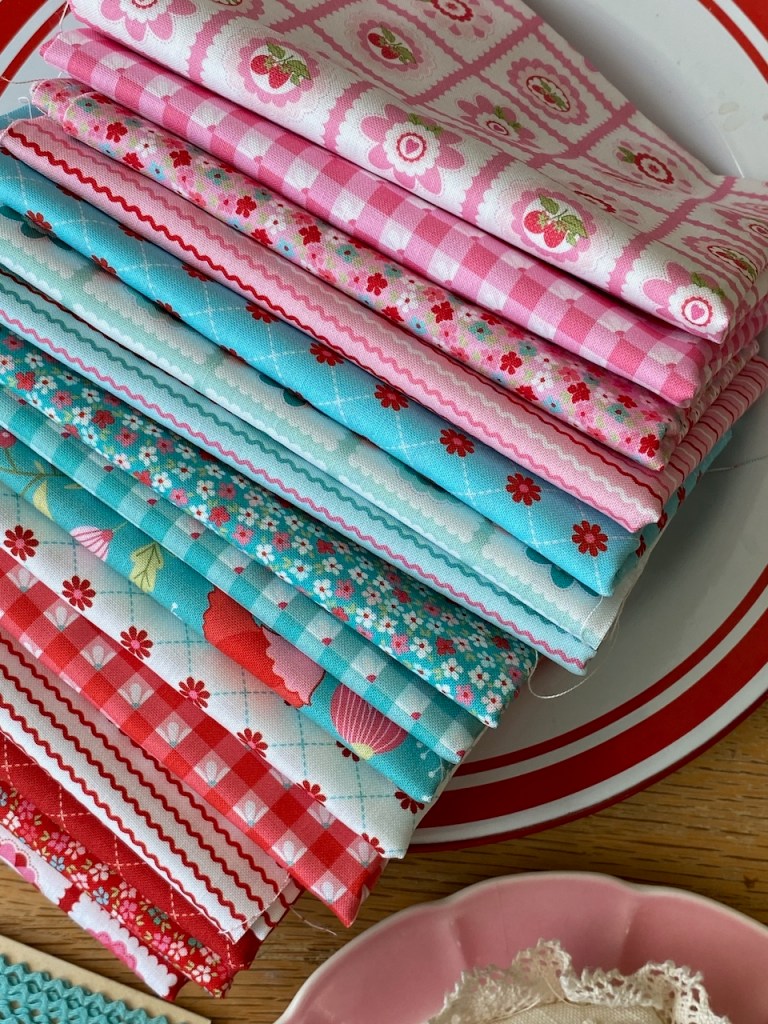
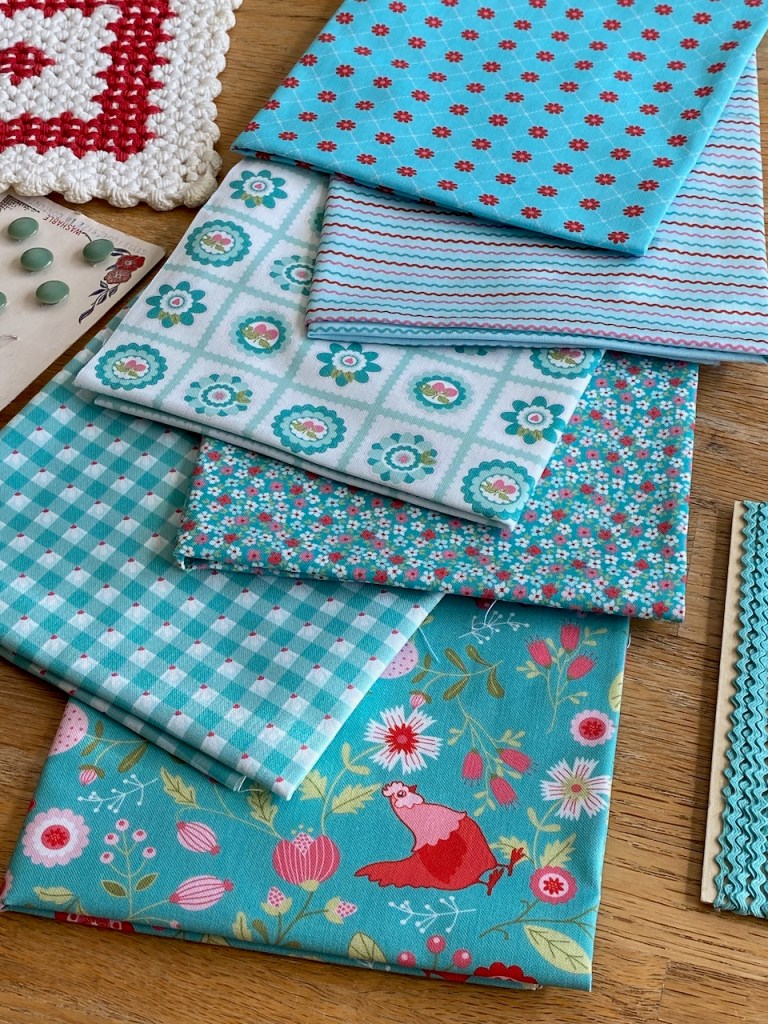
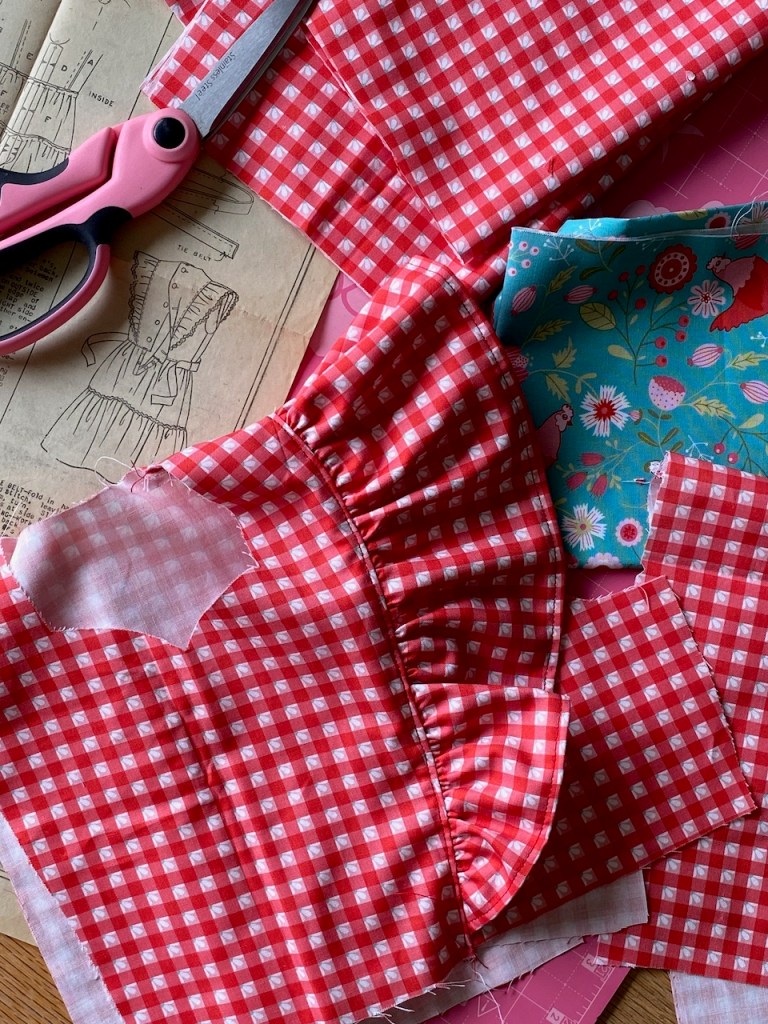
June is flying past, and it’s already my turn on the Poppie Cotton tour for their new fabric line Smitten Chicken! This one is full of pinks, reds, and aquas – some of my favorites – and has lots of retro/country motifs. Here are my favorite selections from it. I especially adore that strawberry circle pattern!
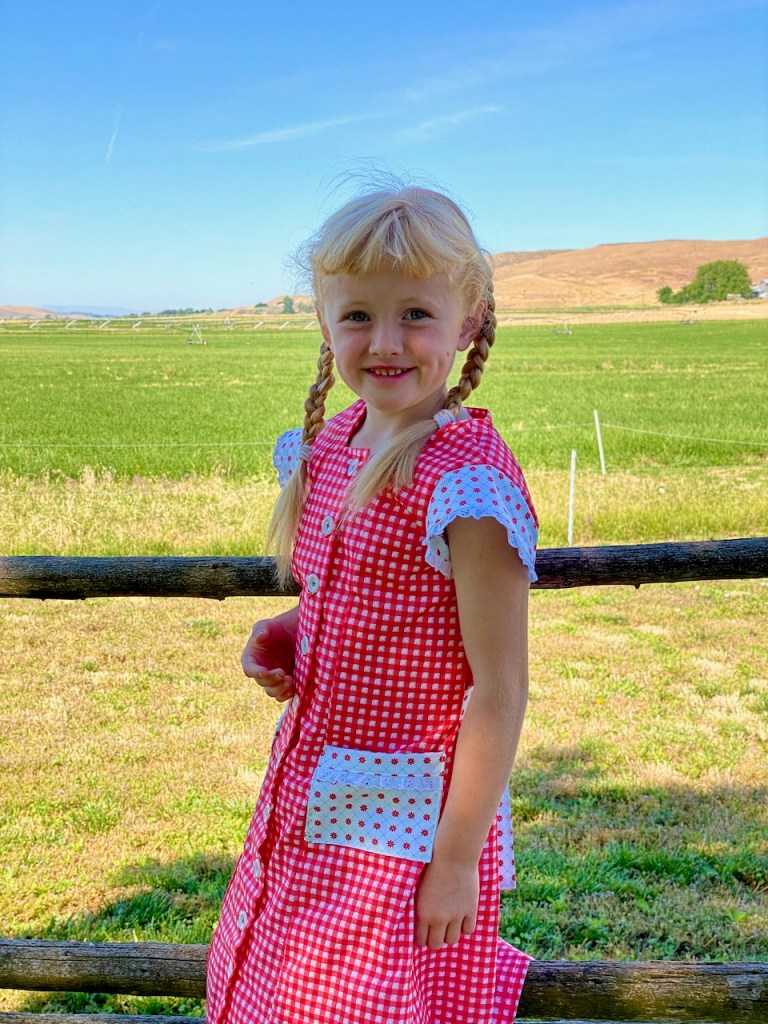
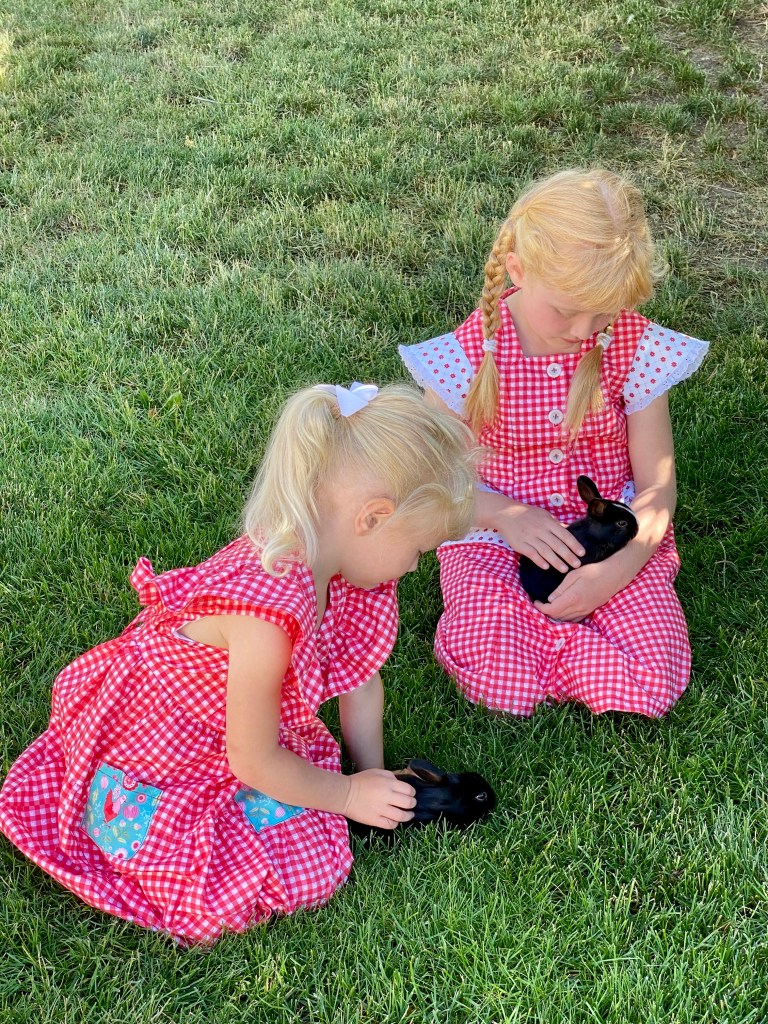
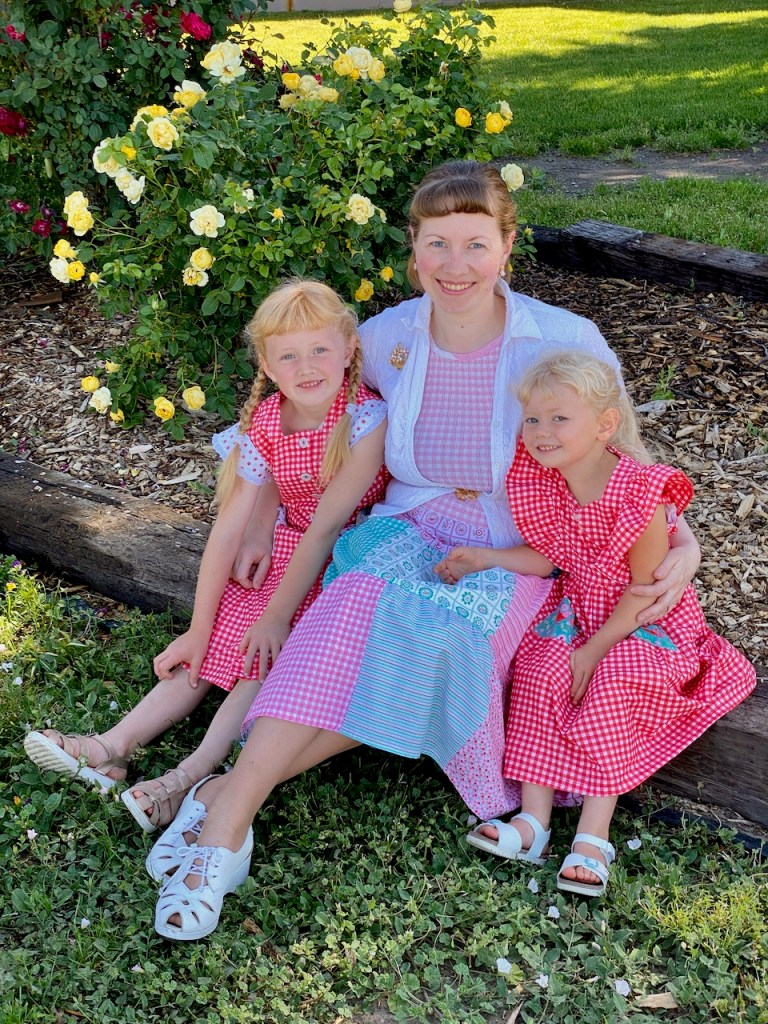
Once I had the idea for coordinating gingham pinafore-style dresses for my two girls, I knew it would be a perfect fit.
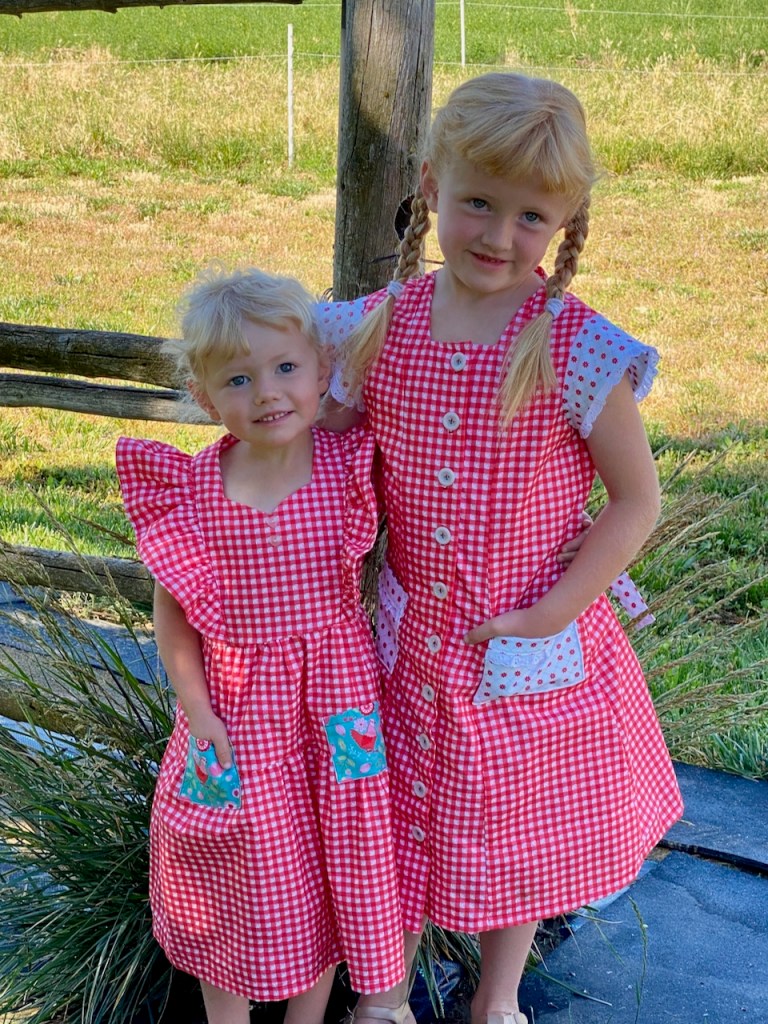
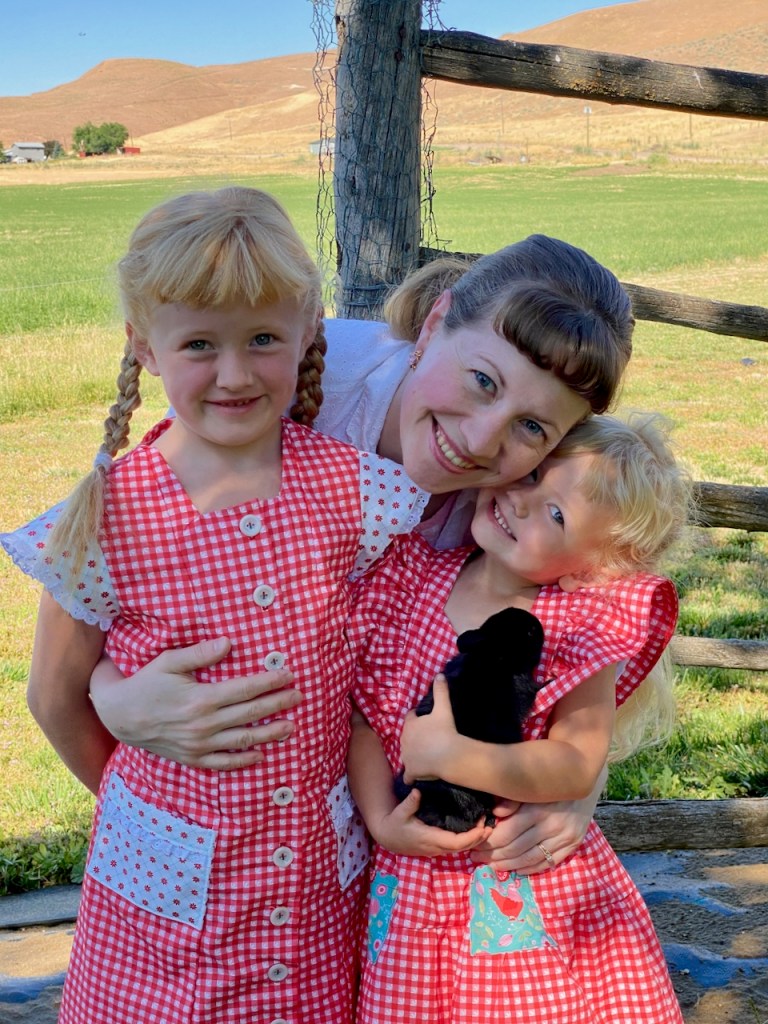
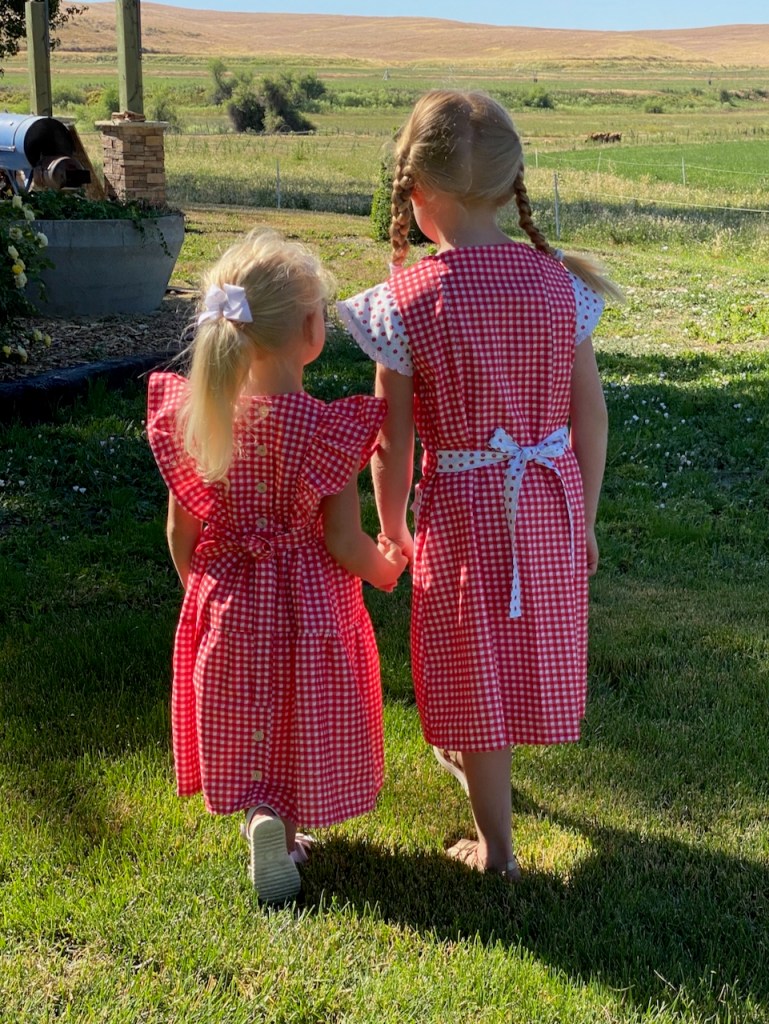
The girls love their new dresses!
The size 4 I made from this size 2 pattern, and just sized it up a bit to fit my very petite 4-year-old.

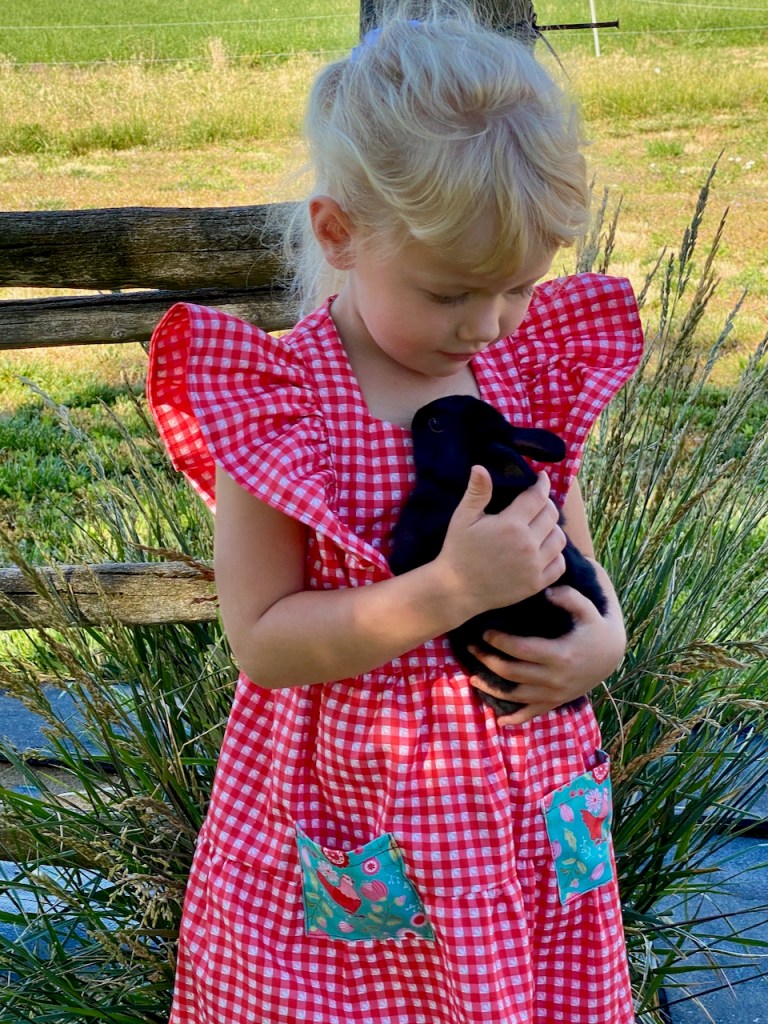
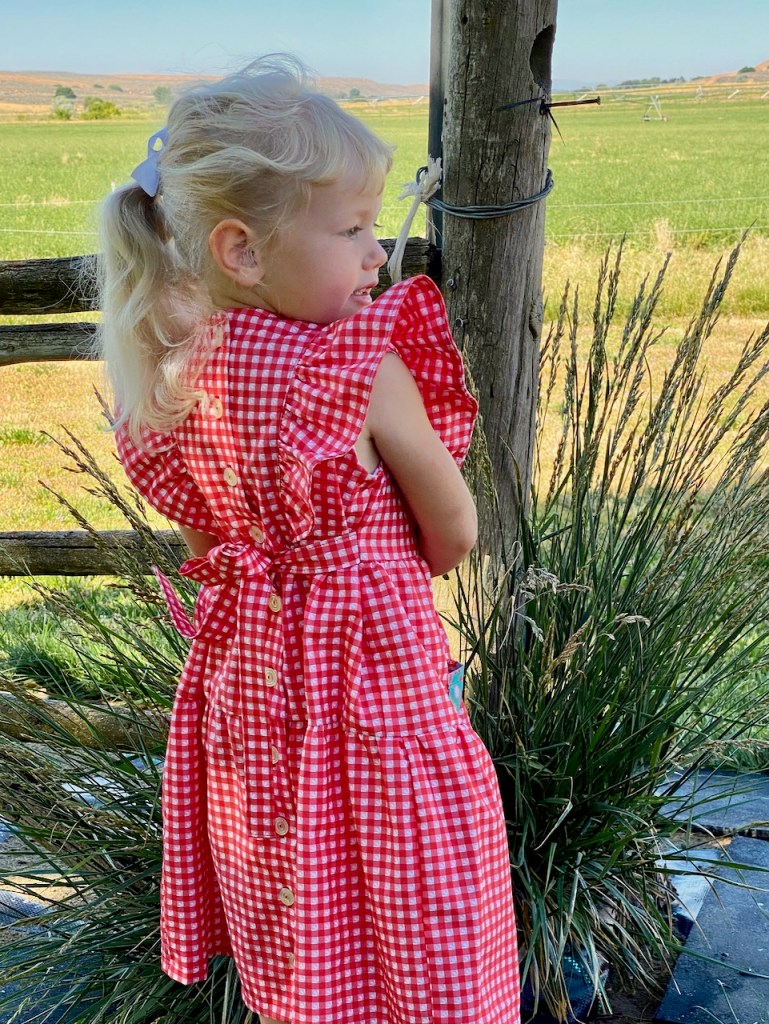
I did the shoulder ruffles double layer so there is no wrong side. The extra bonus is that the two layers keep it standing out nicely when worn.
I also adapted it to open all the way down the back.
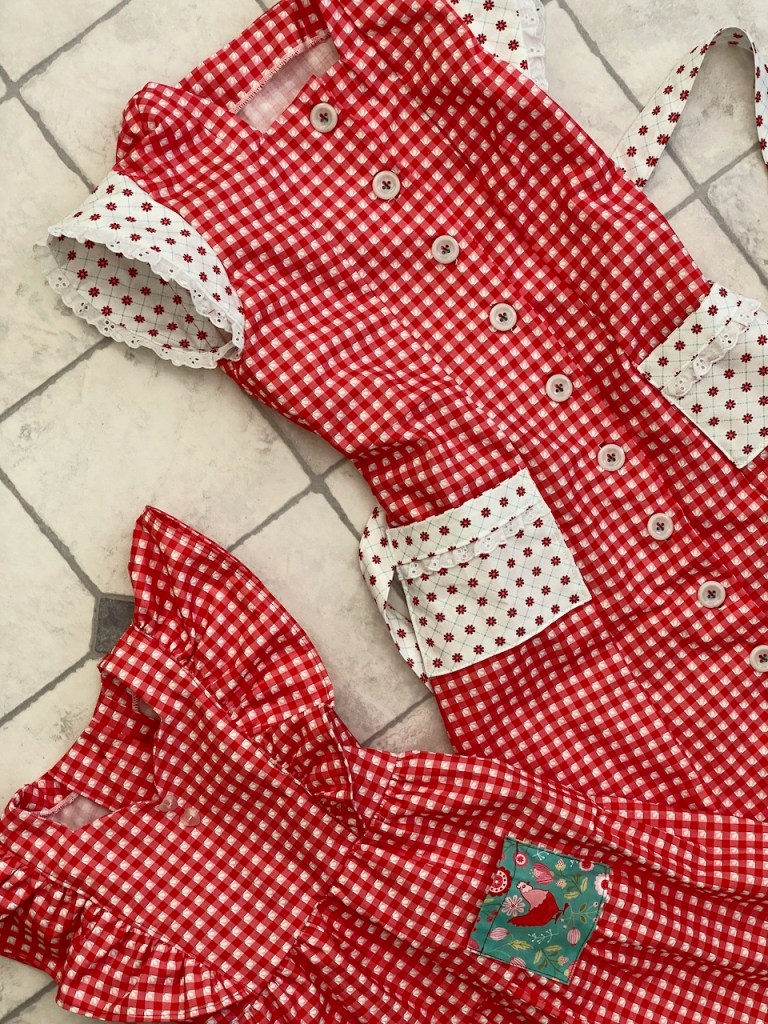
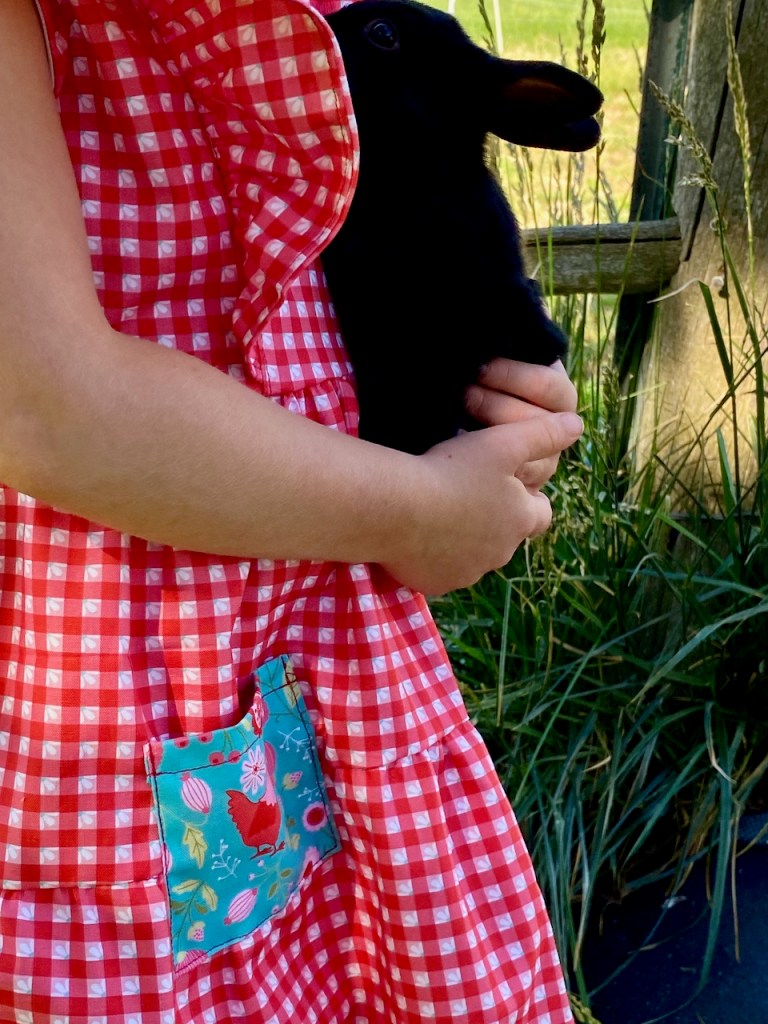
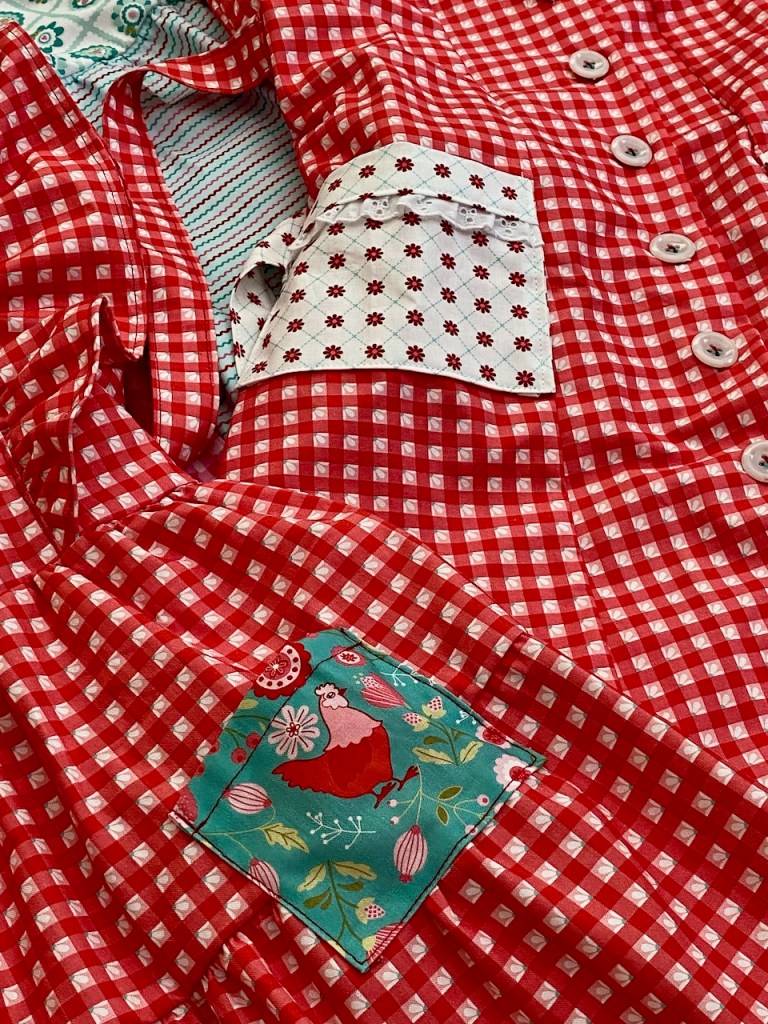
She adores pockets, so I fussy cut chicken pockets out of an aqua FQ for her.
I’ve made this pattern once before for my older daughter, so I had a better idea of what I wanted to adapt this time. It came together quickly, and it’s sized large enough that she should hopefully get a couple of summers out of it – which is good since I think it’s already her new favorite!
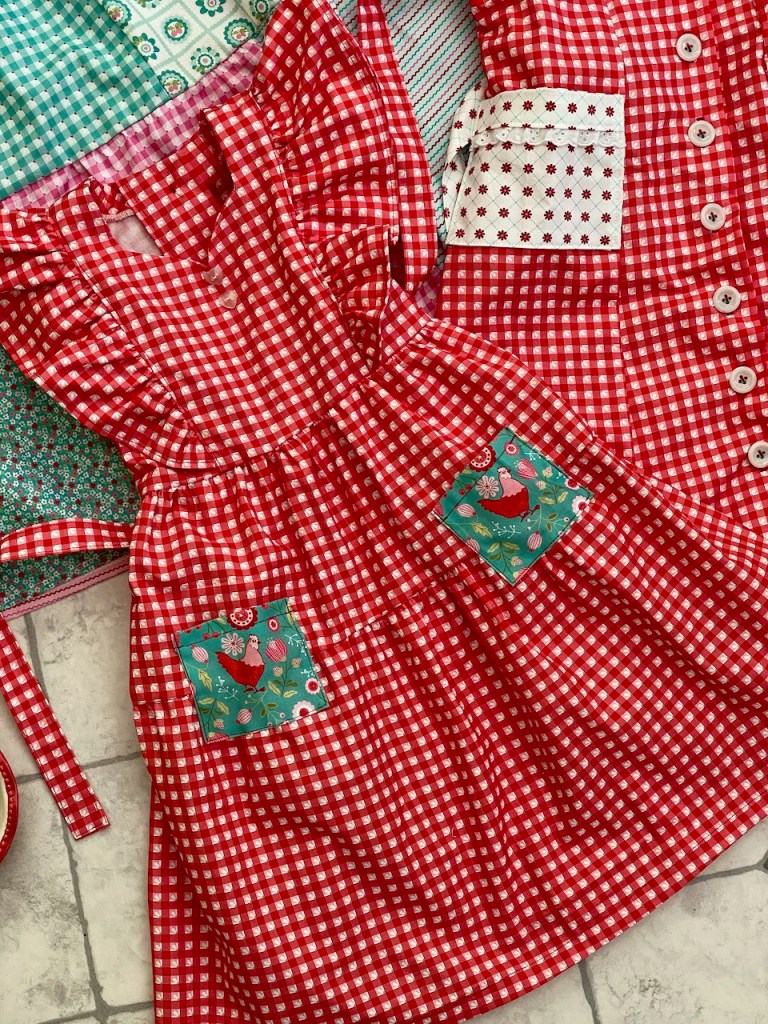
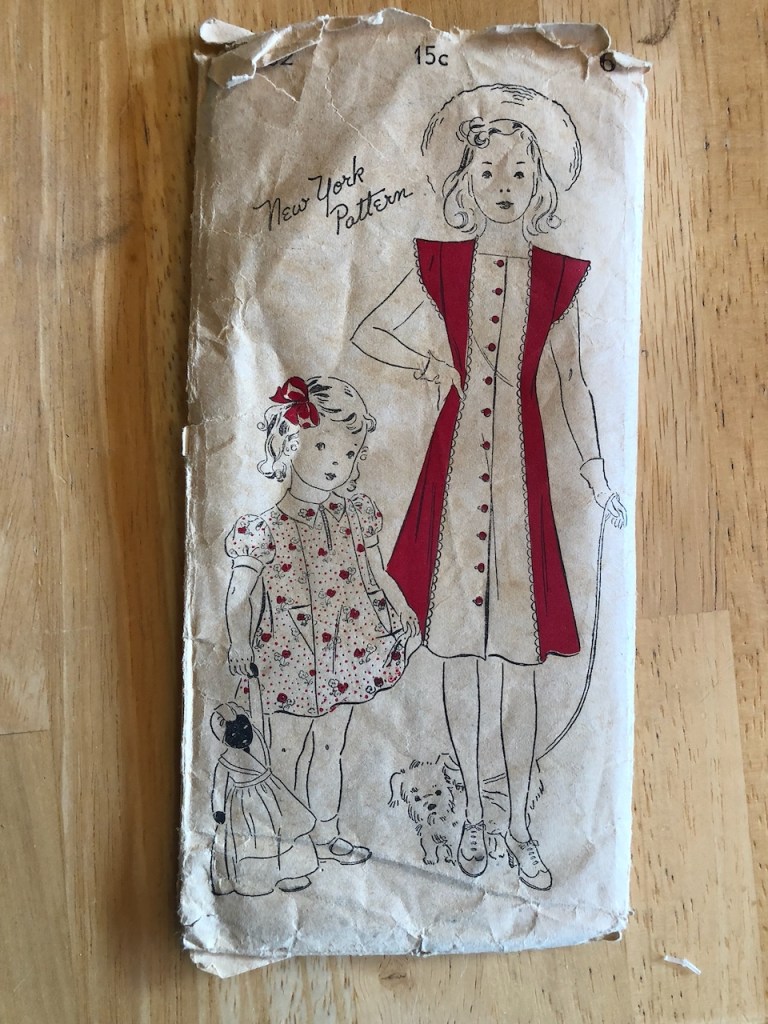
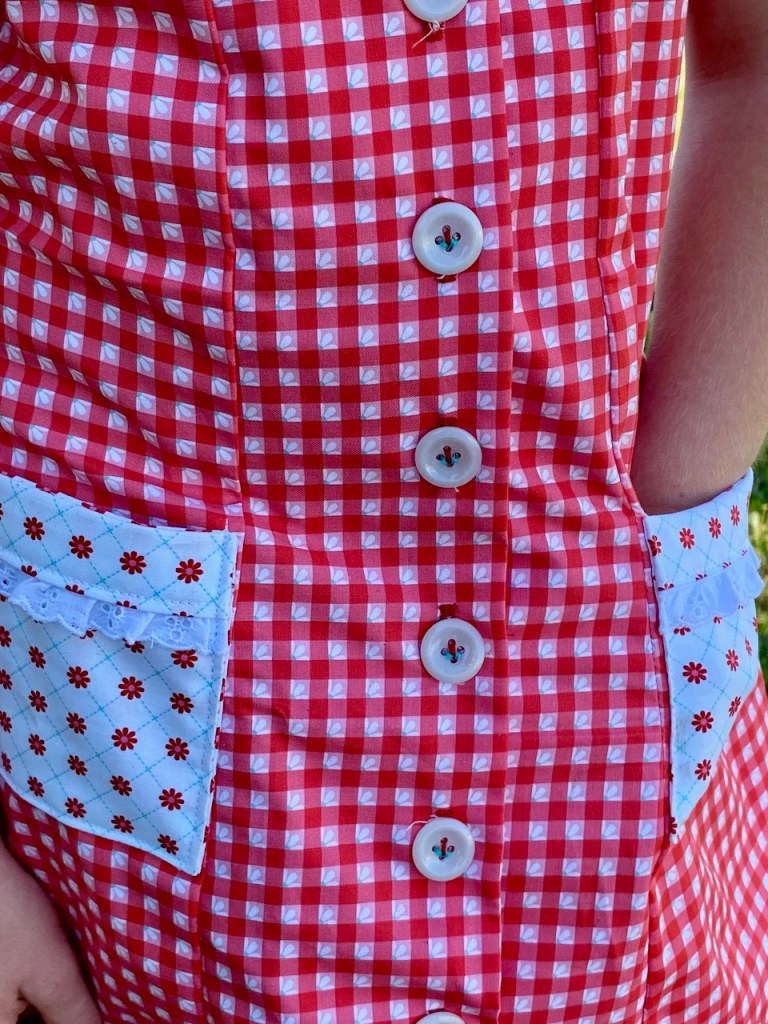
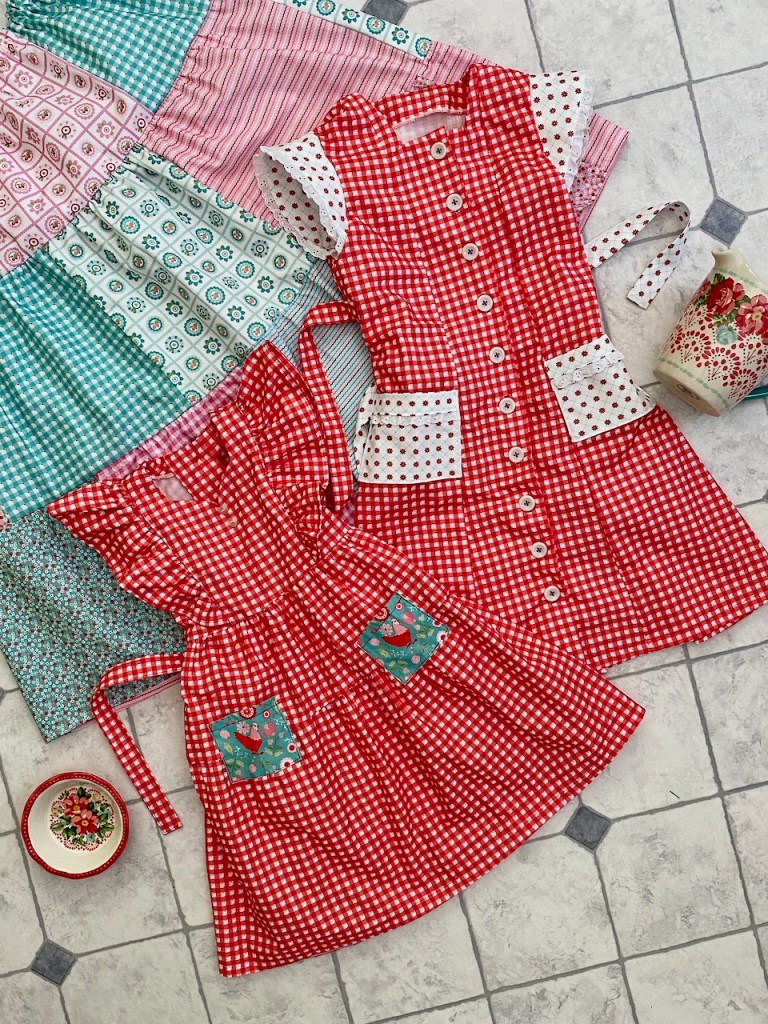
For my 6-year-0ld I chose a 1930s pattern. It’s a pretty basic princess style dress that buttons down the front.
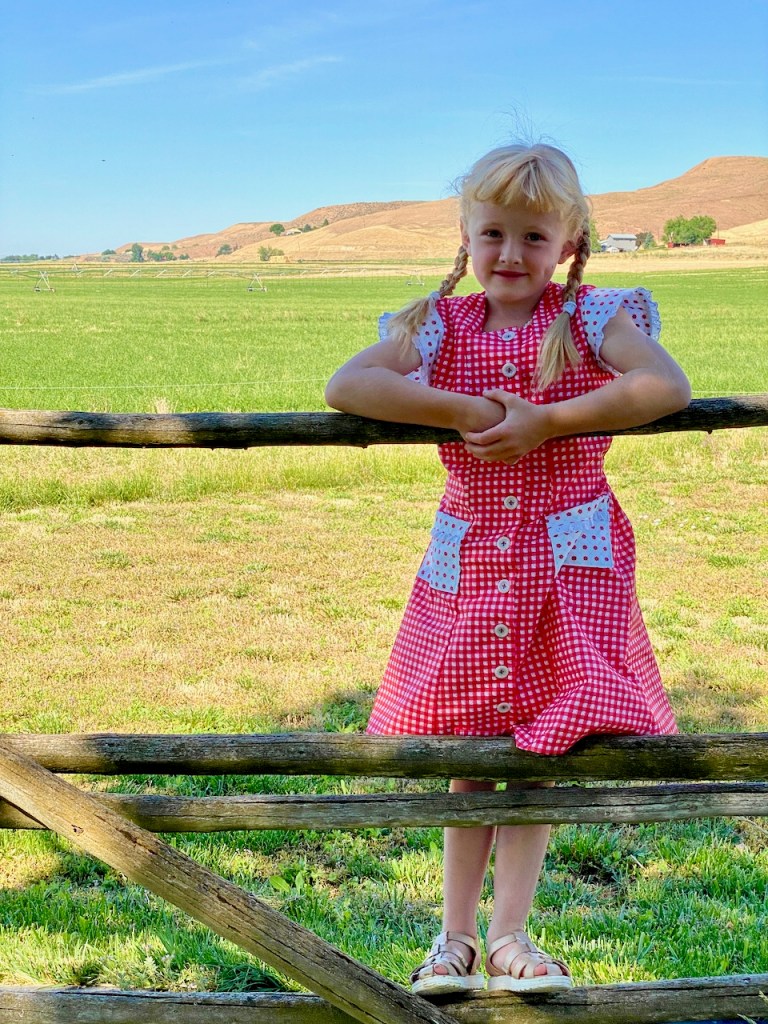
I had run out of gingham so I made contrasting ties and sleeves, which turned out to be a great design choice.
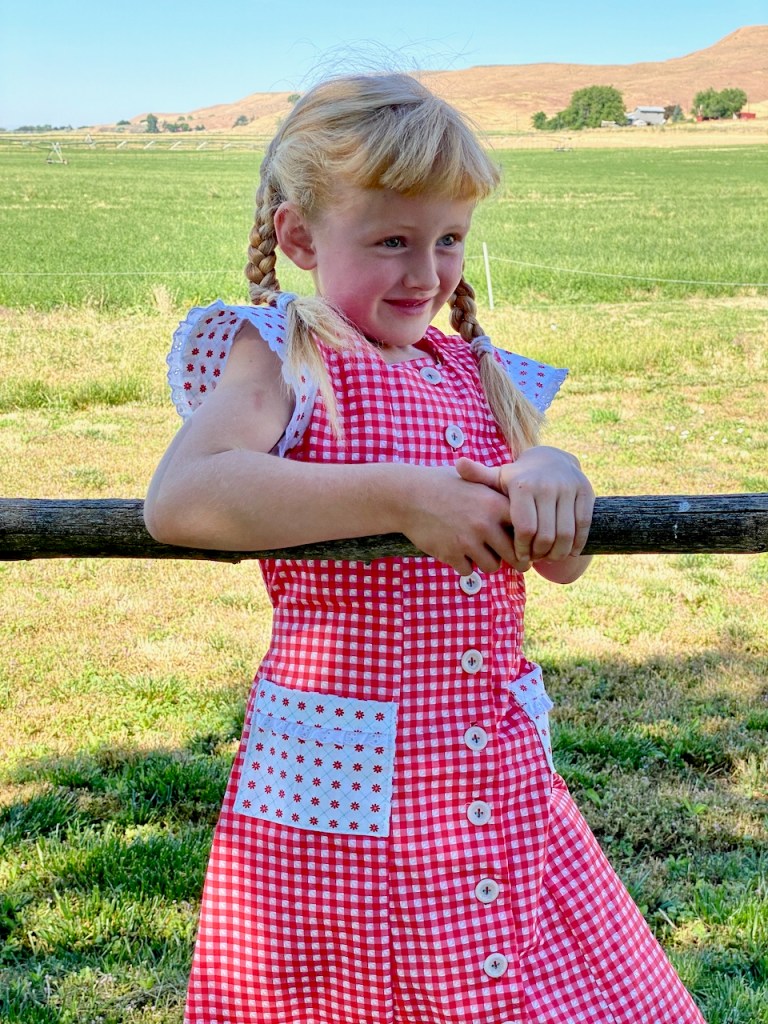
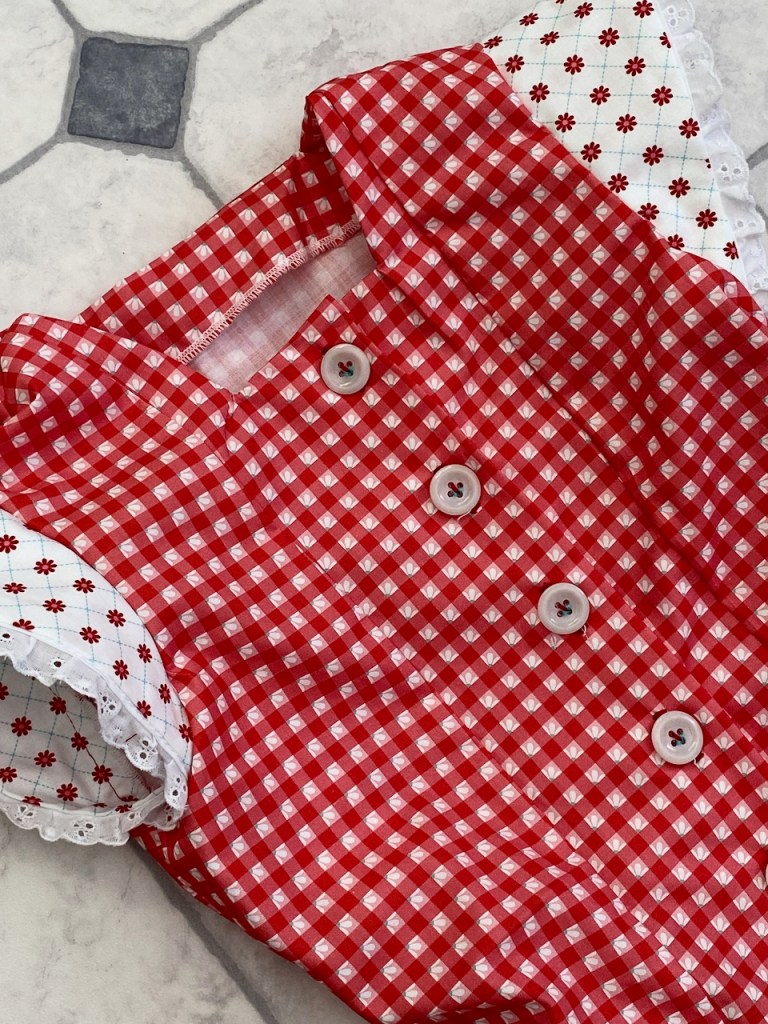
I love this style of sleeve so much! It’s such a fun one. Again I did it double layer so it looks better and holds its shape nicely.
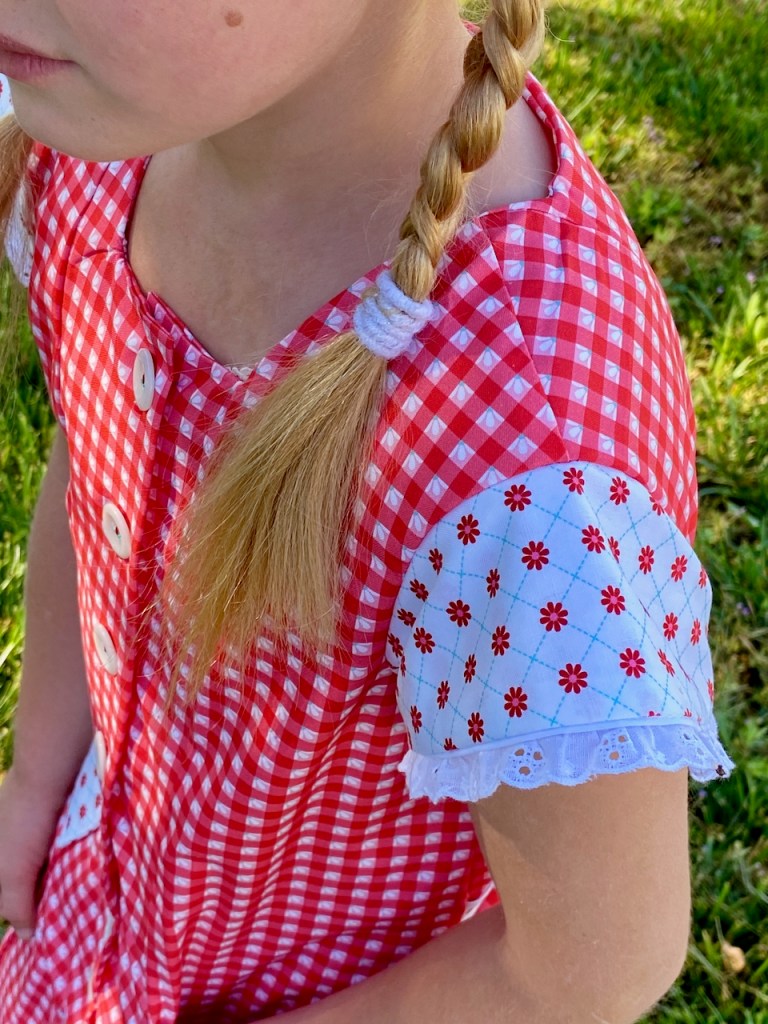
I had just enough of the eyelet ruffle left from the sleeves to add a touch on the pockets.
As you can see, baby bunnies are in the mode these days!
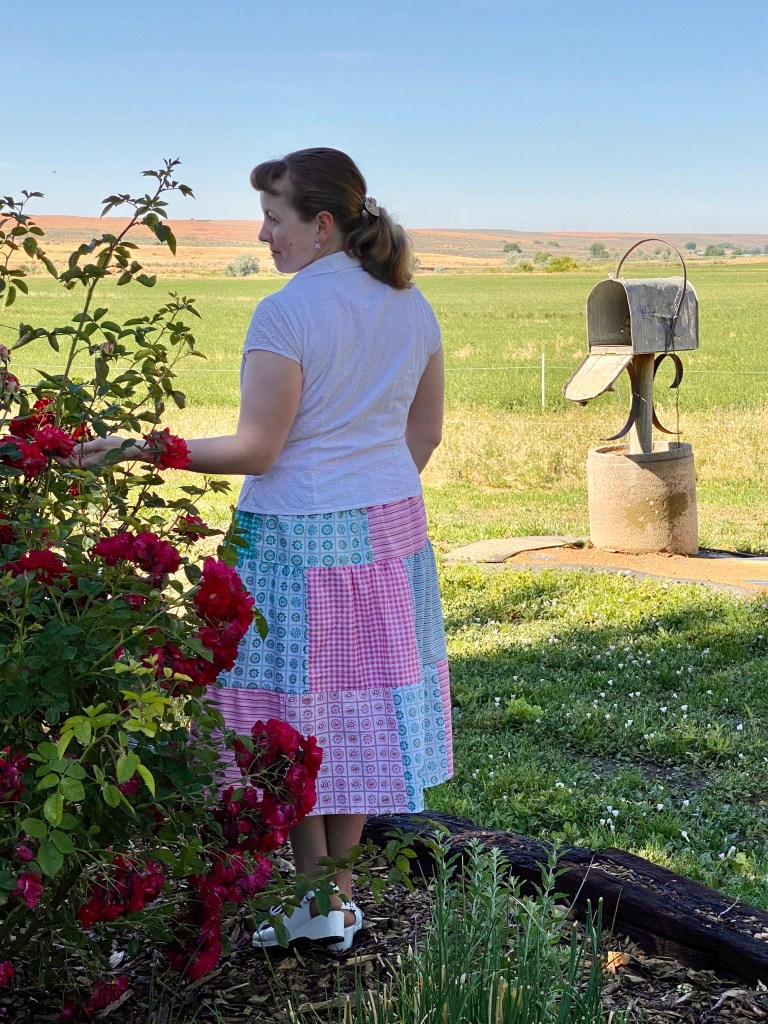
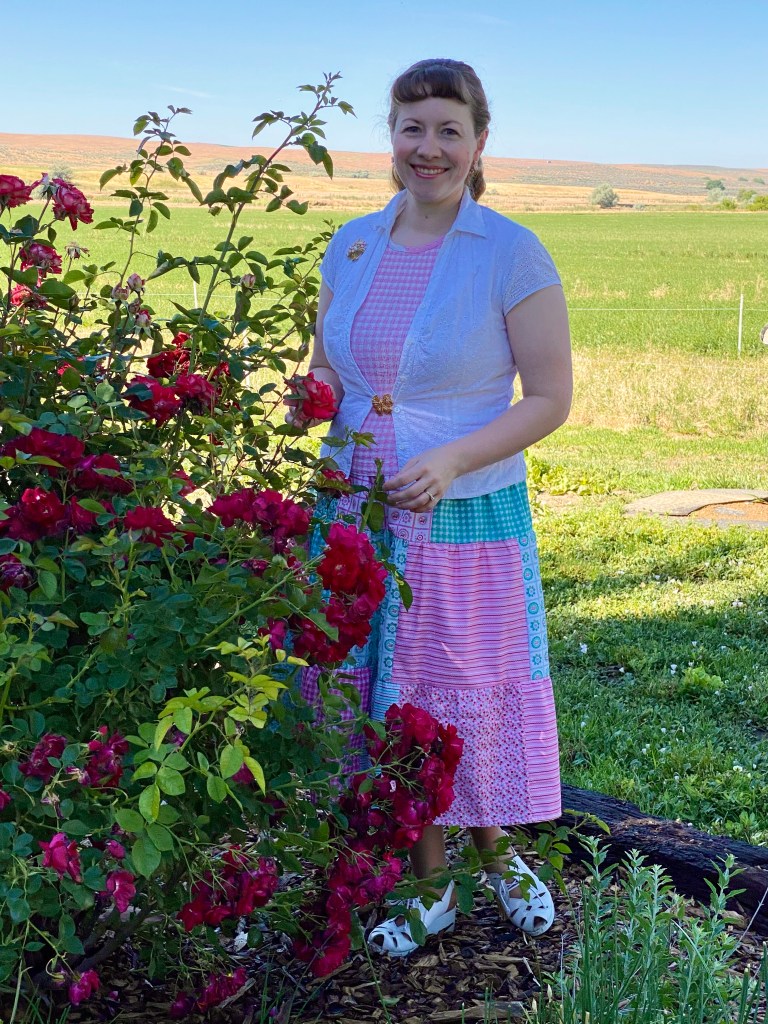
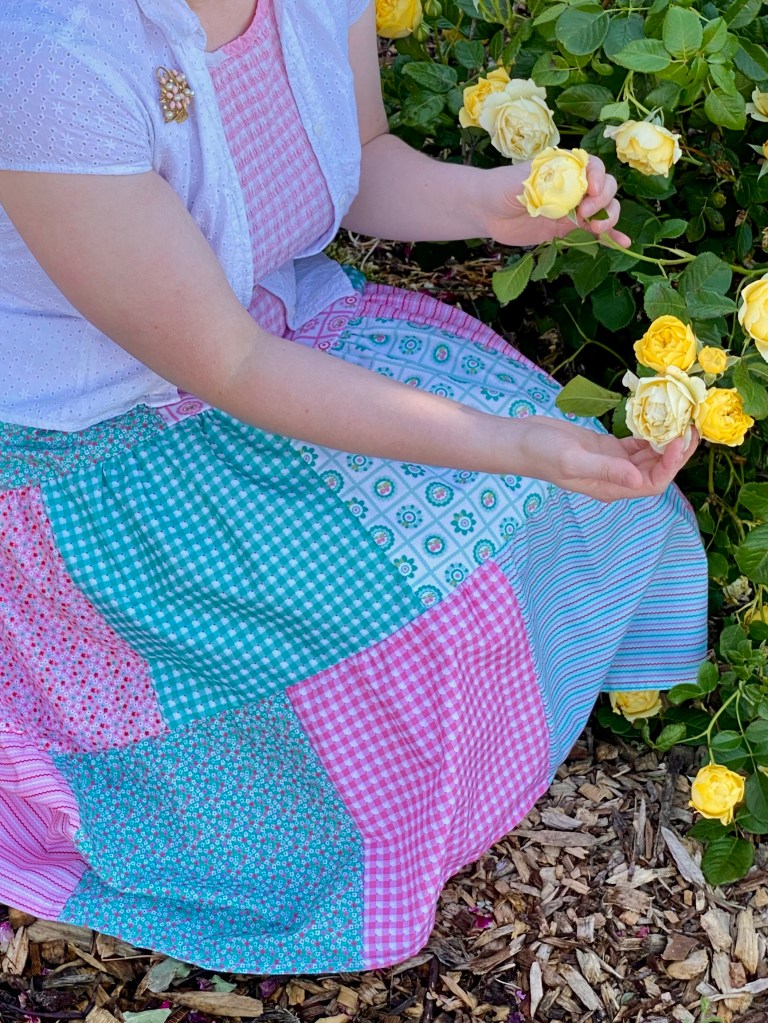
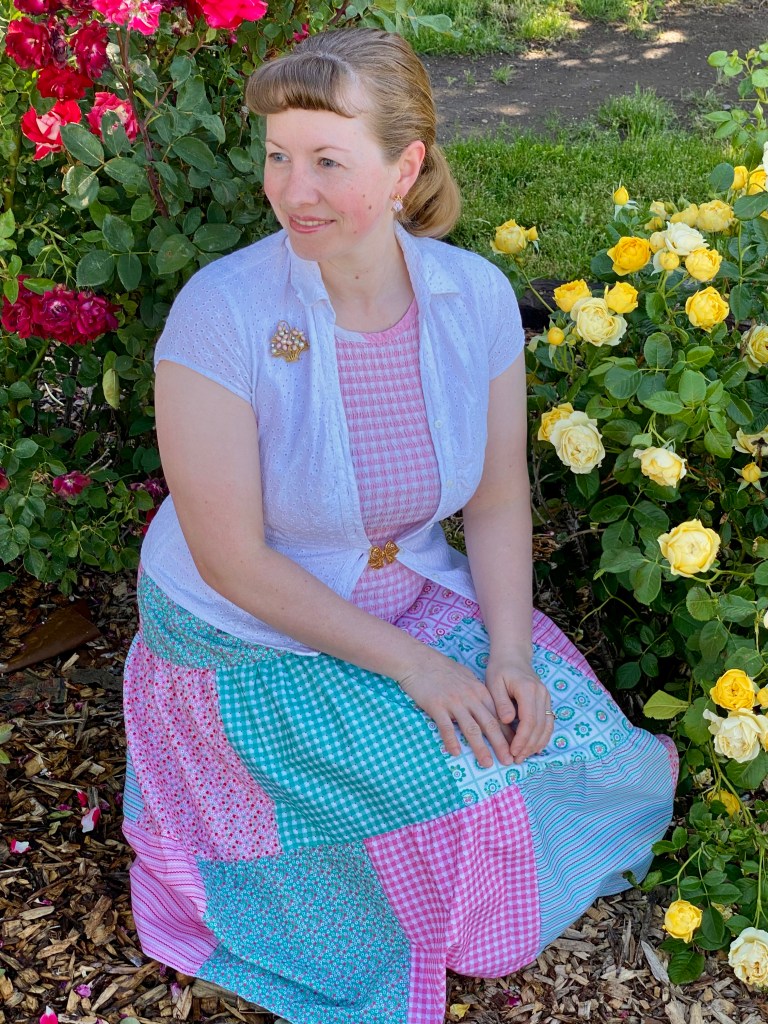
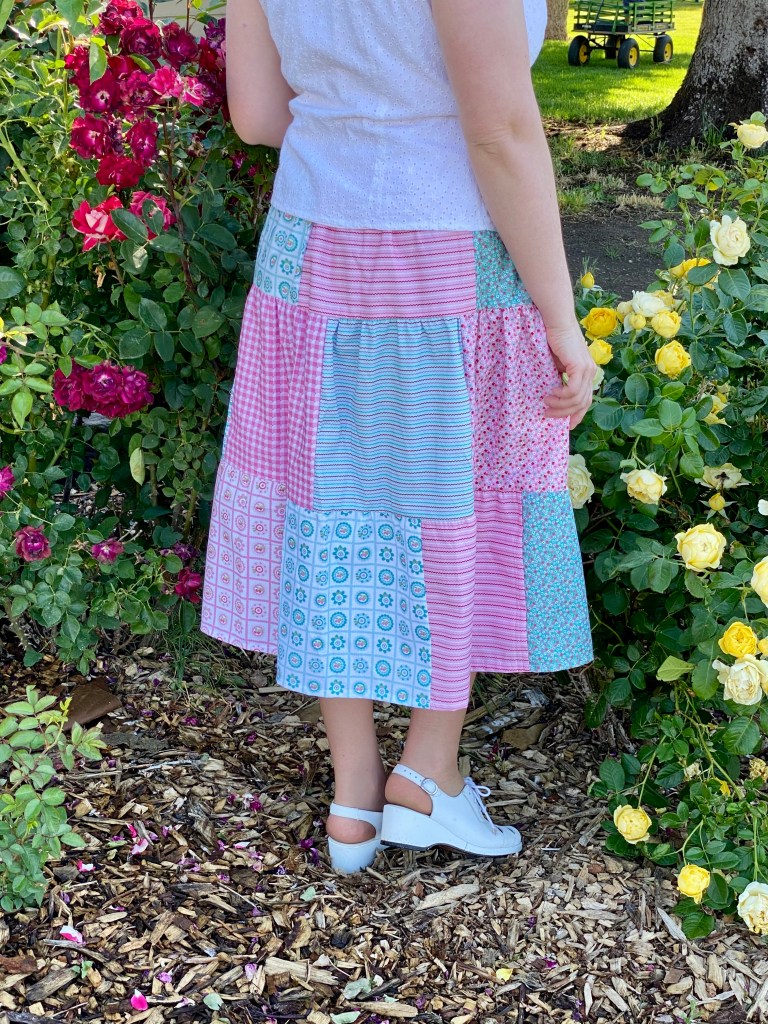
I had planned to make something else for myself, but was distracted by all the lovely aquas and pinks once I saw the fat quarter bundle. So I decided to mix them all up and make myself a patchwork skirt similar to a thrifted maxi-skirt I’ve had for ages that has printed patchwork on the fabric – but this time not a maxi skirt, to make it more useful for everyday wear.

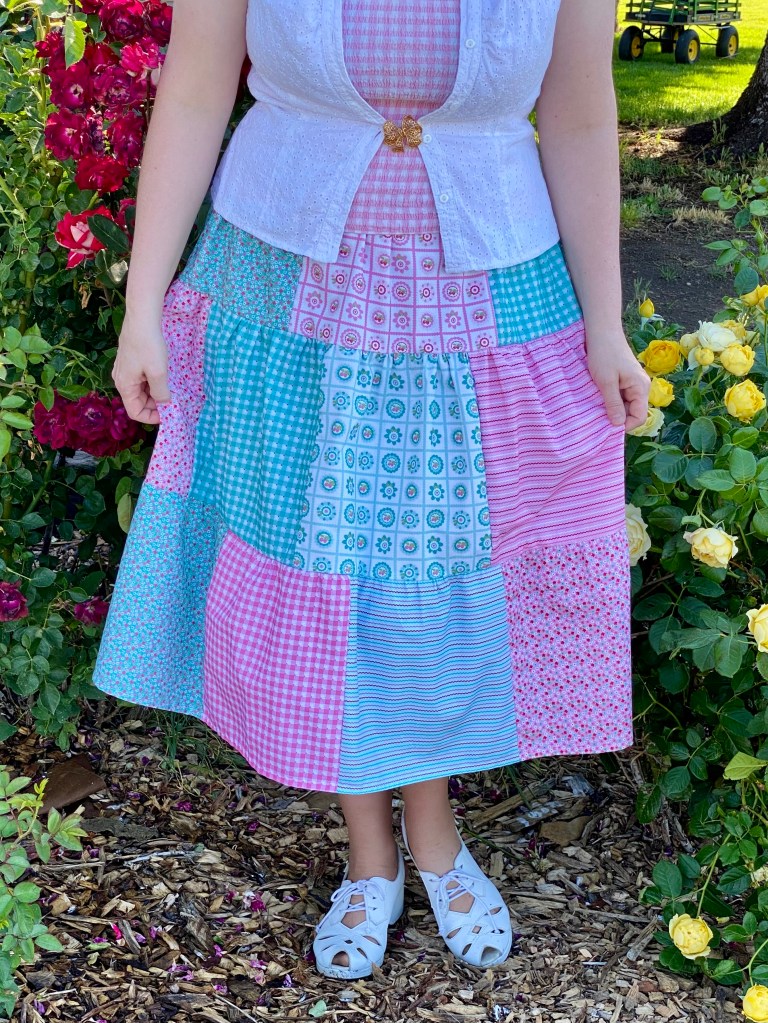
I used this helpful tutorial as a starting place, but a lot of the time I just winged it. I cut two patches out of each FQ, added in a few extra, making it 3 tiers long and not super ruffled.
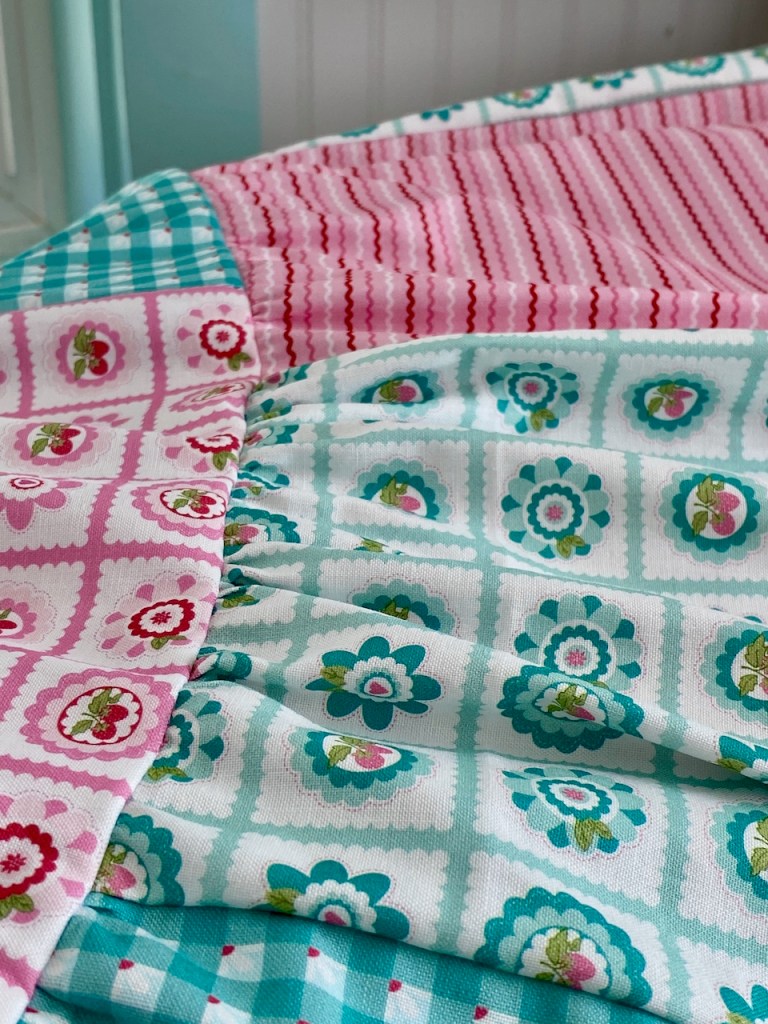
I knew that the ruffling would mix up the prints a lot and placement would be impossible, so another time I’ll cut the patches smaller and make it look a little more purposeful. But overall I’m quite pleased with it and love wearing my favorite prints.
I was pleasantly surprised by how easy it was to do a proper elastic casing. I haven’t sewn much with elastic but this may change that! ** Pro tip: use a vintage diaper pin if you’re feeding elastic through a casing – with the chunky head it’s so much easier to feel and push than a regular safety pin! **
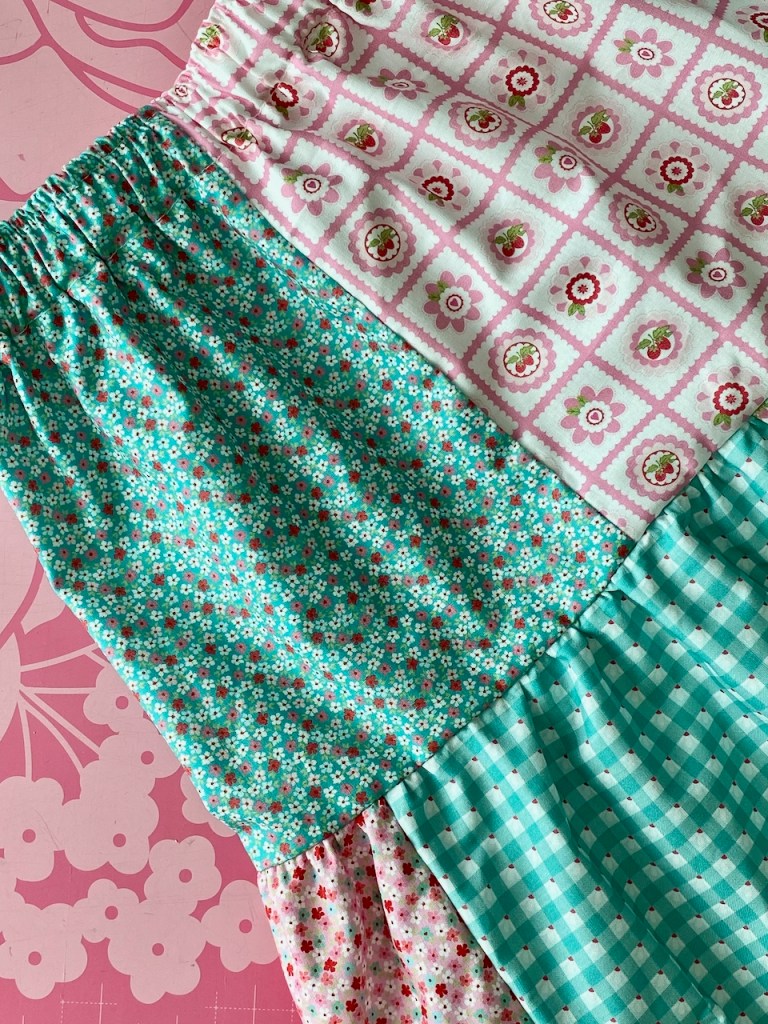
Even though I had to piece the tiers first, I still easily got this one done in one afternoon and would totally make another one. I can think of lots of other fabric and print combinations that would be fun. I for sure want to make a white eyelet one for Sundays, so you’ll probably see that one on here soon.
All together!
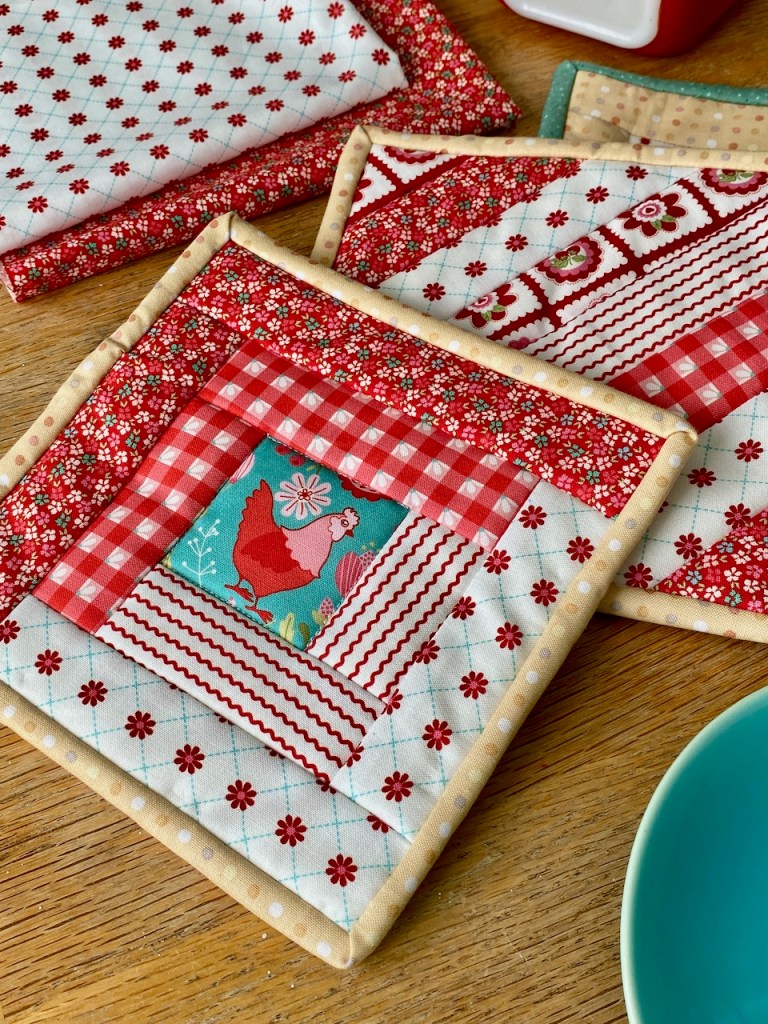
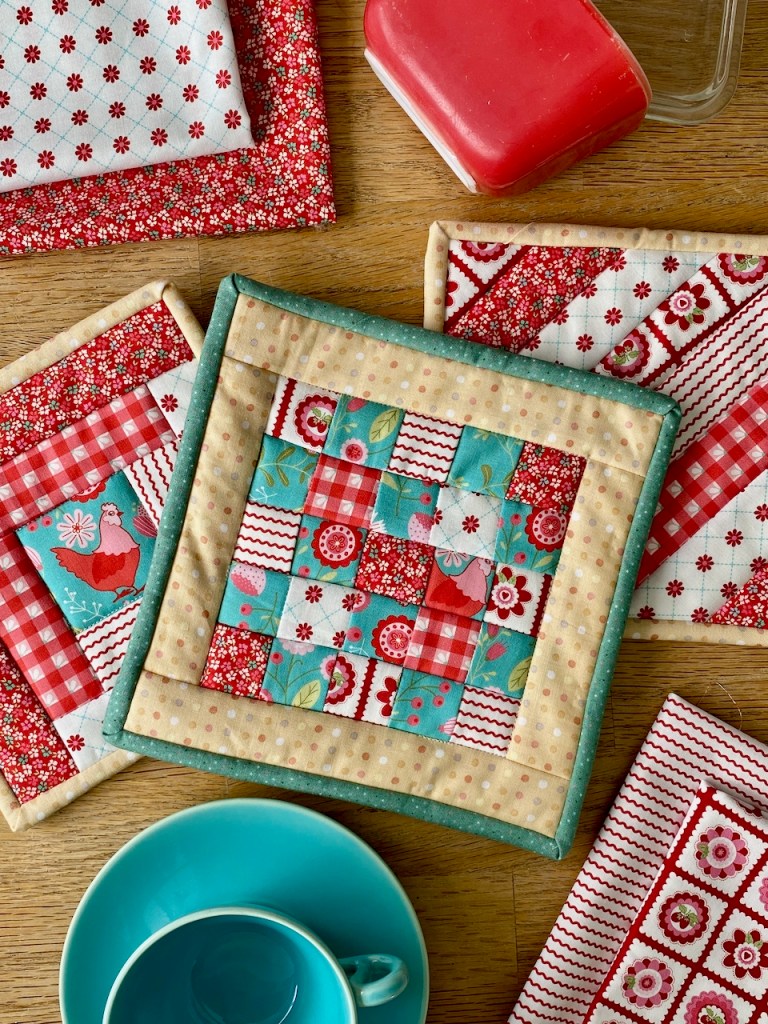
Of course I also had to do SOMETHING quilty though… Back in May I used the reds and aquas from the bundle to make my mom a fresh set of potholders for her kitchen, for Mother’s Day.
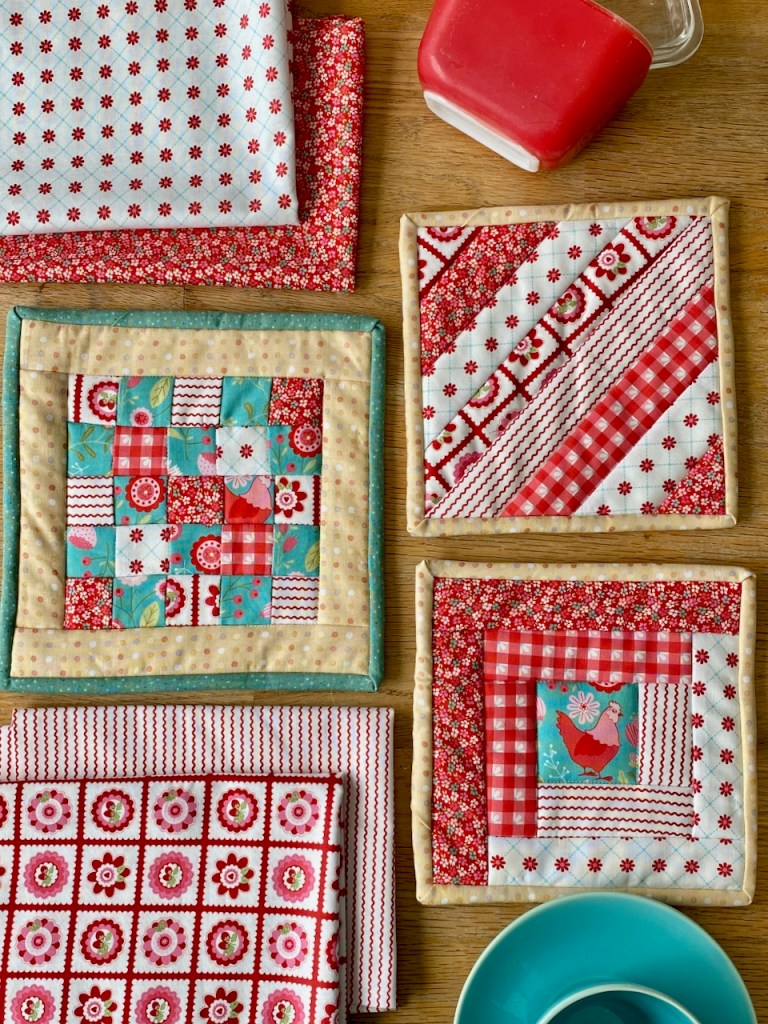
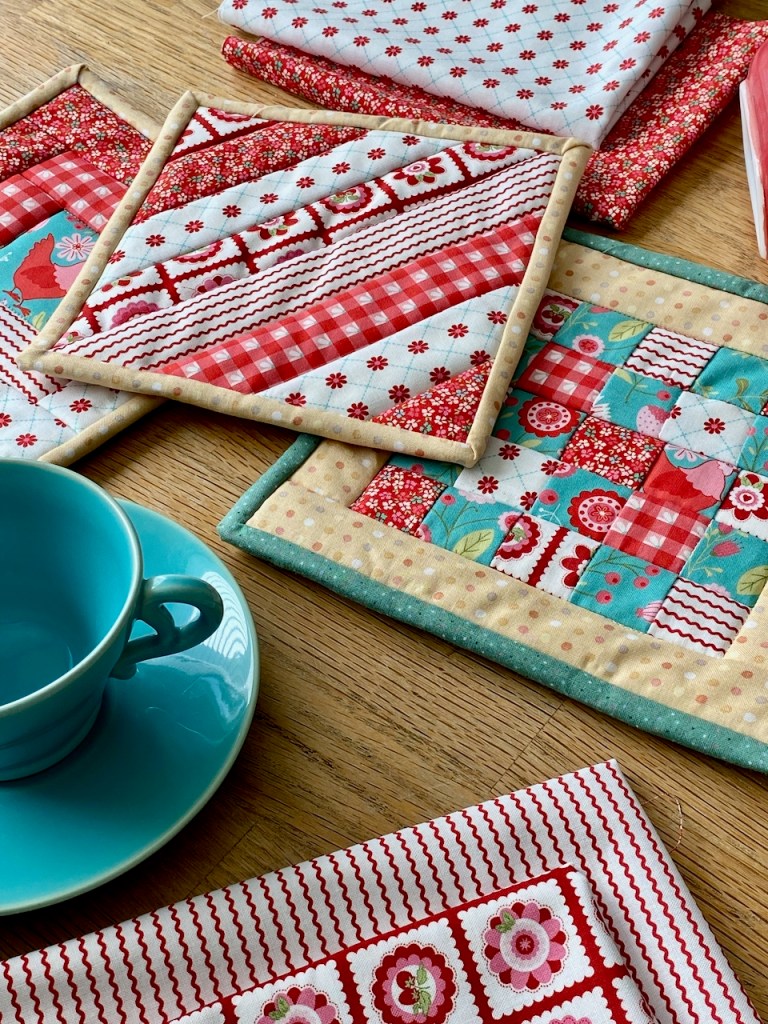
I added in a bit of yellow to match her kitchen colors, and did them quilt-as-you-go for a quick finish. Nothing like a fresh set of potholders to spruce up your daily cooking routine!
Everything was very fun to sew. There have been so many cute projects already with this fun fabric line – I can’t wait to see what everyone makes with it, once it hits the quilt shops soon!

Leave a comment